Your first top-up: a tour of the keypad and the three sheets
Keypad, pay sheet, confirm sheet. A tour of every part of the Top up flow, so your first card goes through without guesswork.
Jump to a part
Once your account is set up, the orange Top up button in the middle of the tab bar opens the place where cards are made. The flow is built like a phone app: a full-screen keypad, then two sheets that slide up from the bottom, one to choose how you pay and one to confirm. This tour walks through each screen in the order you meet it, so you know what every part does before you tap the last button.
The keypad screen
The first screen is all about the balance. At the top sits a big readout showing the card balance you are typing and, underneath, You pay: the total with both fees added. A glowing fill rises behind the figure as the amount grows, so you can feel the size of the card before you read the number.
Typing an amount
Tap the number keys like a phone calculator. The decimal key adds cents, and the backspace key removes the last digit. A physical keyboard works too: digits, the period key and Backspace all do what you would expect. Every press updates the total straight away.
The smallest and largest card are printed under the button, right now $10.00 and $5,000.00. Type something outside that range and a short red line under the readout explains the limit, while the Next button stays dimmed.
Quick chips
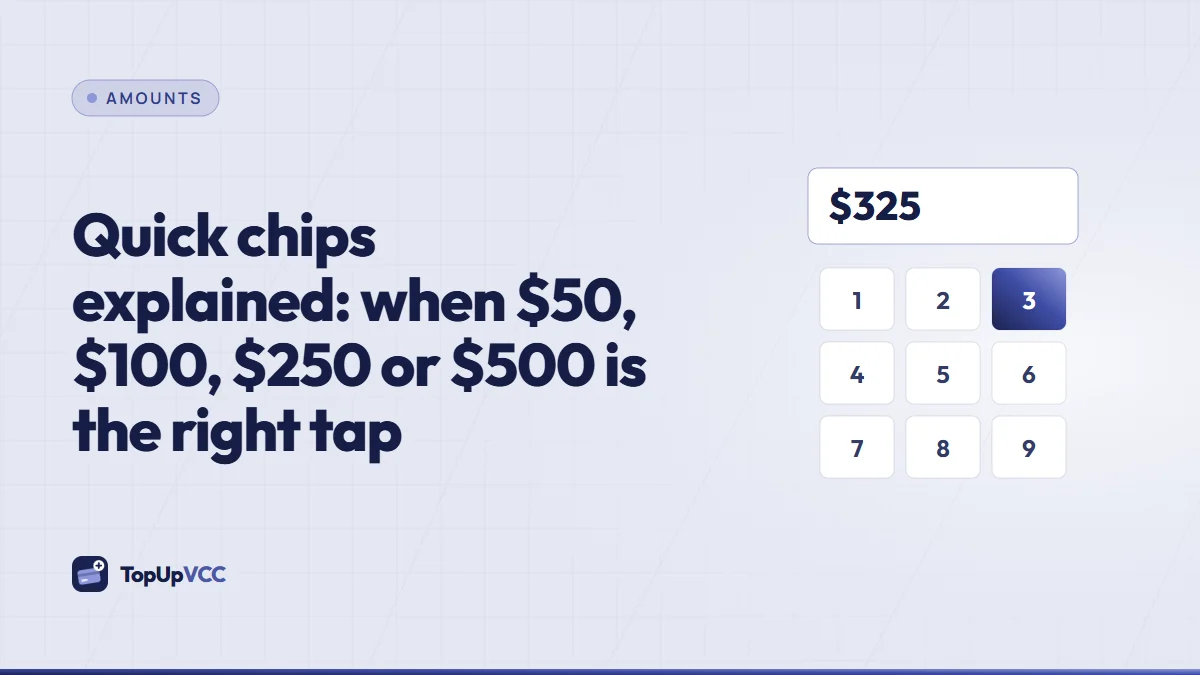
Above the keypad, a row of chips offers round amounts such as $50, $100, $250 and $500, when they fit inside the limits. One tap fills the readout. They are shortcuts, nothing more: any amount in range works, down to the cent.
Name on the card
Below the keypad, a folded row called Name on the card opens an optional field. Use it when a checkout needs the cardholder name to match something, such as a ticket or booking. Leave it closed and a default holder name goes on the card.
Unsure what balance to pick? Our guides on picking an amount cover margins, holds and currency conversion, and the rates page shows worked examples you can compare against.
When the readout shows the right figure, tap Next: how to pay.
Sheet one: how you pay
A sheet slides up over the keypad. Its header repeats the total in yellow, so you never lose sight of what you are about to pay. Below it, each payment option that is switched on appears as a large row with a round selector on the right.
Crypto checkout
The row with the lightning icon reads "Pay on a secure page · confirms itself". Choose it and you will finish on a hosted payment page, where the payment is confirmed for you. Nothing has to be pasted afterwards. Our article on using the crypto checkout shows what that page contains.
Wallet transfer
Rows marked with a coin badge name their coin and network, for example "USDT on TRON · TRC20 · you add the TXID". Choose the one that matches where your funds actually sit. A wrong pick here is the start of most network mistakes, so read the full network name, not just the coin.
The back arrow at the top left returns you to the keypad without losing anything. When the right row is selected, tap Next: confirm.
Sheet two: confirm
The second sheet is the receipt you are about to agree to. At the top, the total sits in large type with a Copy button next to it, and under it three rows: card balance, top-up charge (at 15%) and card fee ($5.00).
What follows depends on the option you chose.
For the checkout
A tick box asks you to accept the terms of use and the refund rules. The button at the bottom then reads Pay with the total, and tapping it opens the payment page.
For a wallet transfer
The sheet shows everything you need to send by hand:
- a QR code and the address in full, with a Copy address button,
- a yellow note naming the only network that works for this address,
- any extra instructions for that wallet,
- a field for the Transaction ID (TXID),
- an optional Screenshot upload, which only staff can open and which helps the check go faster,
- a tick box saying you sent exactly the total on that network.
Send the payment first, then paste the TXID and tick the box. The button reads Submit top-up.
Under the button, a line reminds you that card fees can't be refunded and gives the usual processing time. Whatever the sheet shows, the server recalculates the total when you confirm and stores that figure with the top-up.
After the last tap
- Checkout: the payment page opens. Pay there, and the receipt updates itself once the payment is confirmed.
- Wallet transfer: the top-up is created as Pending review, and the app opens its receipt.
From then on, the receipt in Activity is your guide. Our article on what happens after you confirm explains every status you may meet. Most paid top-ups turn into a card within a few hours.
A first top-up, start to finish
Here is a typical first card paid through the checkout:
- You need 75 dollars for an online course, so you tap Top up in the tab bar.
- You type 7 and 5 on the keypad. The readout shows $75 and the total underneath.
- You leave the name row closed, since the course provider doesn't check names.
- You tap Next: how to pay and pick the crypto checkout row.
- You tap Next: confirm, tick the terms box and tap Pay.
- On the payment page you choose USDT on the network your exchange uses, copy the address and send the total, making sure the exchange adds its fee on top.
- Back in the app, the receipt says Awaiting payment. A few minutes later it changes to Paid – awaiting card.
- An email arrives when the card is issued. You open the Cards tab, tap Unlock number & CVV, type your authenticator code and pay for the course.
A wallet transfer follows the same path, except that you send the crypto before the last tap, then paste the TXID on the confirm sheet. That top-up starts at Pending review.
Tips for a smooth first top-up
- Read the total on the confirm sheet before you pay, fees included.
- Pick the payment row that matches where your funds already are.
- For wallet transfers, send first and paste the TXID second, never the other way round.
- Don't start several identical top-ups while you wait. One top-up per payment keeps matching simple.
Quick answers
Can I start a top-up now and pay later?
A checkout top-up waits as Awaiting payment until you pay, and its receipt has a Pay button to get back to the payment page. A wallet top-up is only created once you have sent the money and have its TXID.
What if no payment rows appear?
Top-ups may be paused for a while. The screen says so; contact support if you need a card urgently.
Why is the Next button dimmed?
The amount is empty or outside the limits, or no payment row is selected. The red line under the readout tells you which.
Can I back out after the last tap?
An unpaid checkout top-up can simply be left unpaid, or cancelled on the payment page. Nothing is charged by us unless you pay.
Summary
Type a balance on the keypad, pick how to pay on the first sheet, check the receipt on the second and tap the last button. The checkout confirms itself; a wallet transfer needs its TXID. From there, the receipt in Activity shows where your top-up stands until the card appears in the Cards tab.